How I find new photography locations in Denmark

Introduction
I started photographing my home country Denmark in 2020, forced by the circumstances of the world pandemic. In the beginning of my journey, I was sure that “real” landscape photography could only be done abroad because Denmark was flat and uninteresting. And boy how wrong I was..
Doing local photography is not only “nice to do” in between trips but a must in order to develop as a photographer. Learning to discover hidden gems, intimately understanding the weather, geography and dynamics of your home area is crucial to becoming a better photographer no matter where you go.
In this blog I will share my process and tips on how I approach finding new locations. Being good at this is such a valuable skill but it takes time and effort that you must be willing to dedicate to it.
#1 Discovery
I try to think of scenes that I want to photograph and which I know my home area can deliver. I don’t only think of whether I want to find a particular scene, but also the conditions I want, time of day and perhaps medium of photography (camera/drone).
Knowing what I want to look for helps decide the area or type of landscape I want to research.
Example:
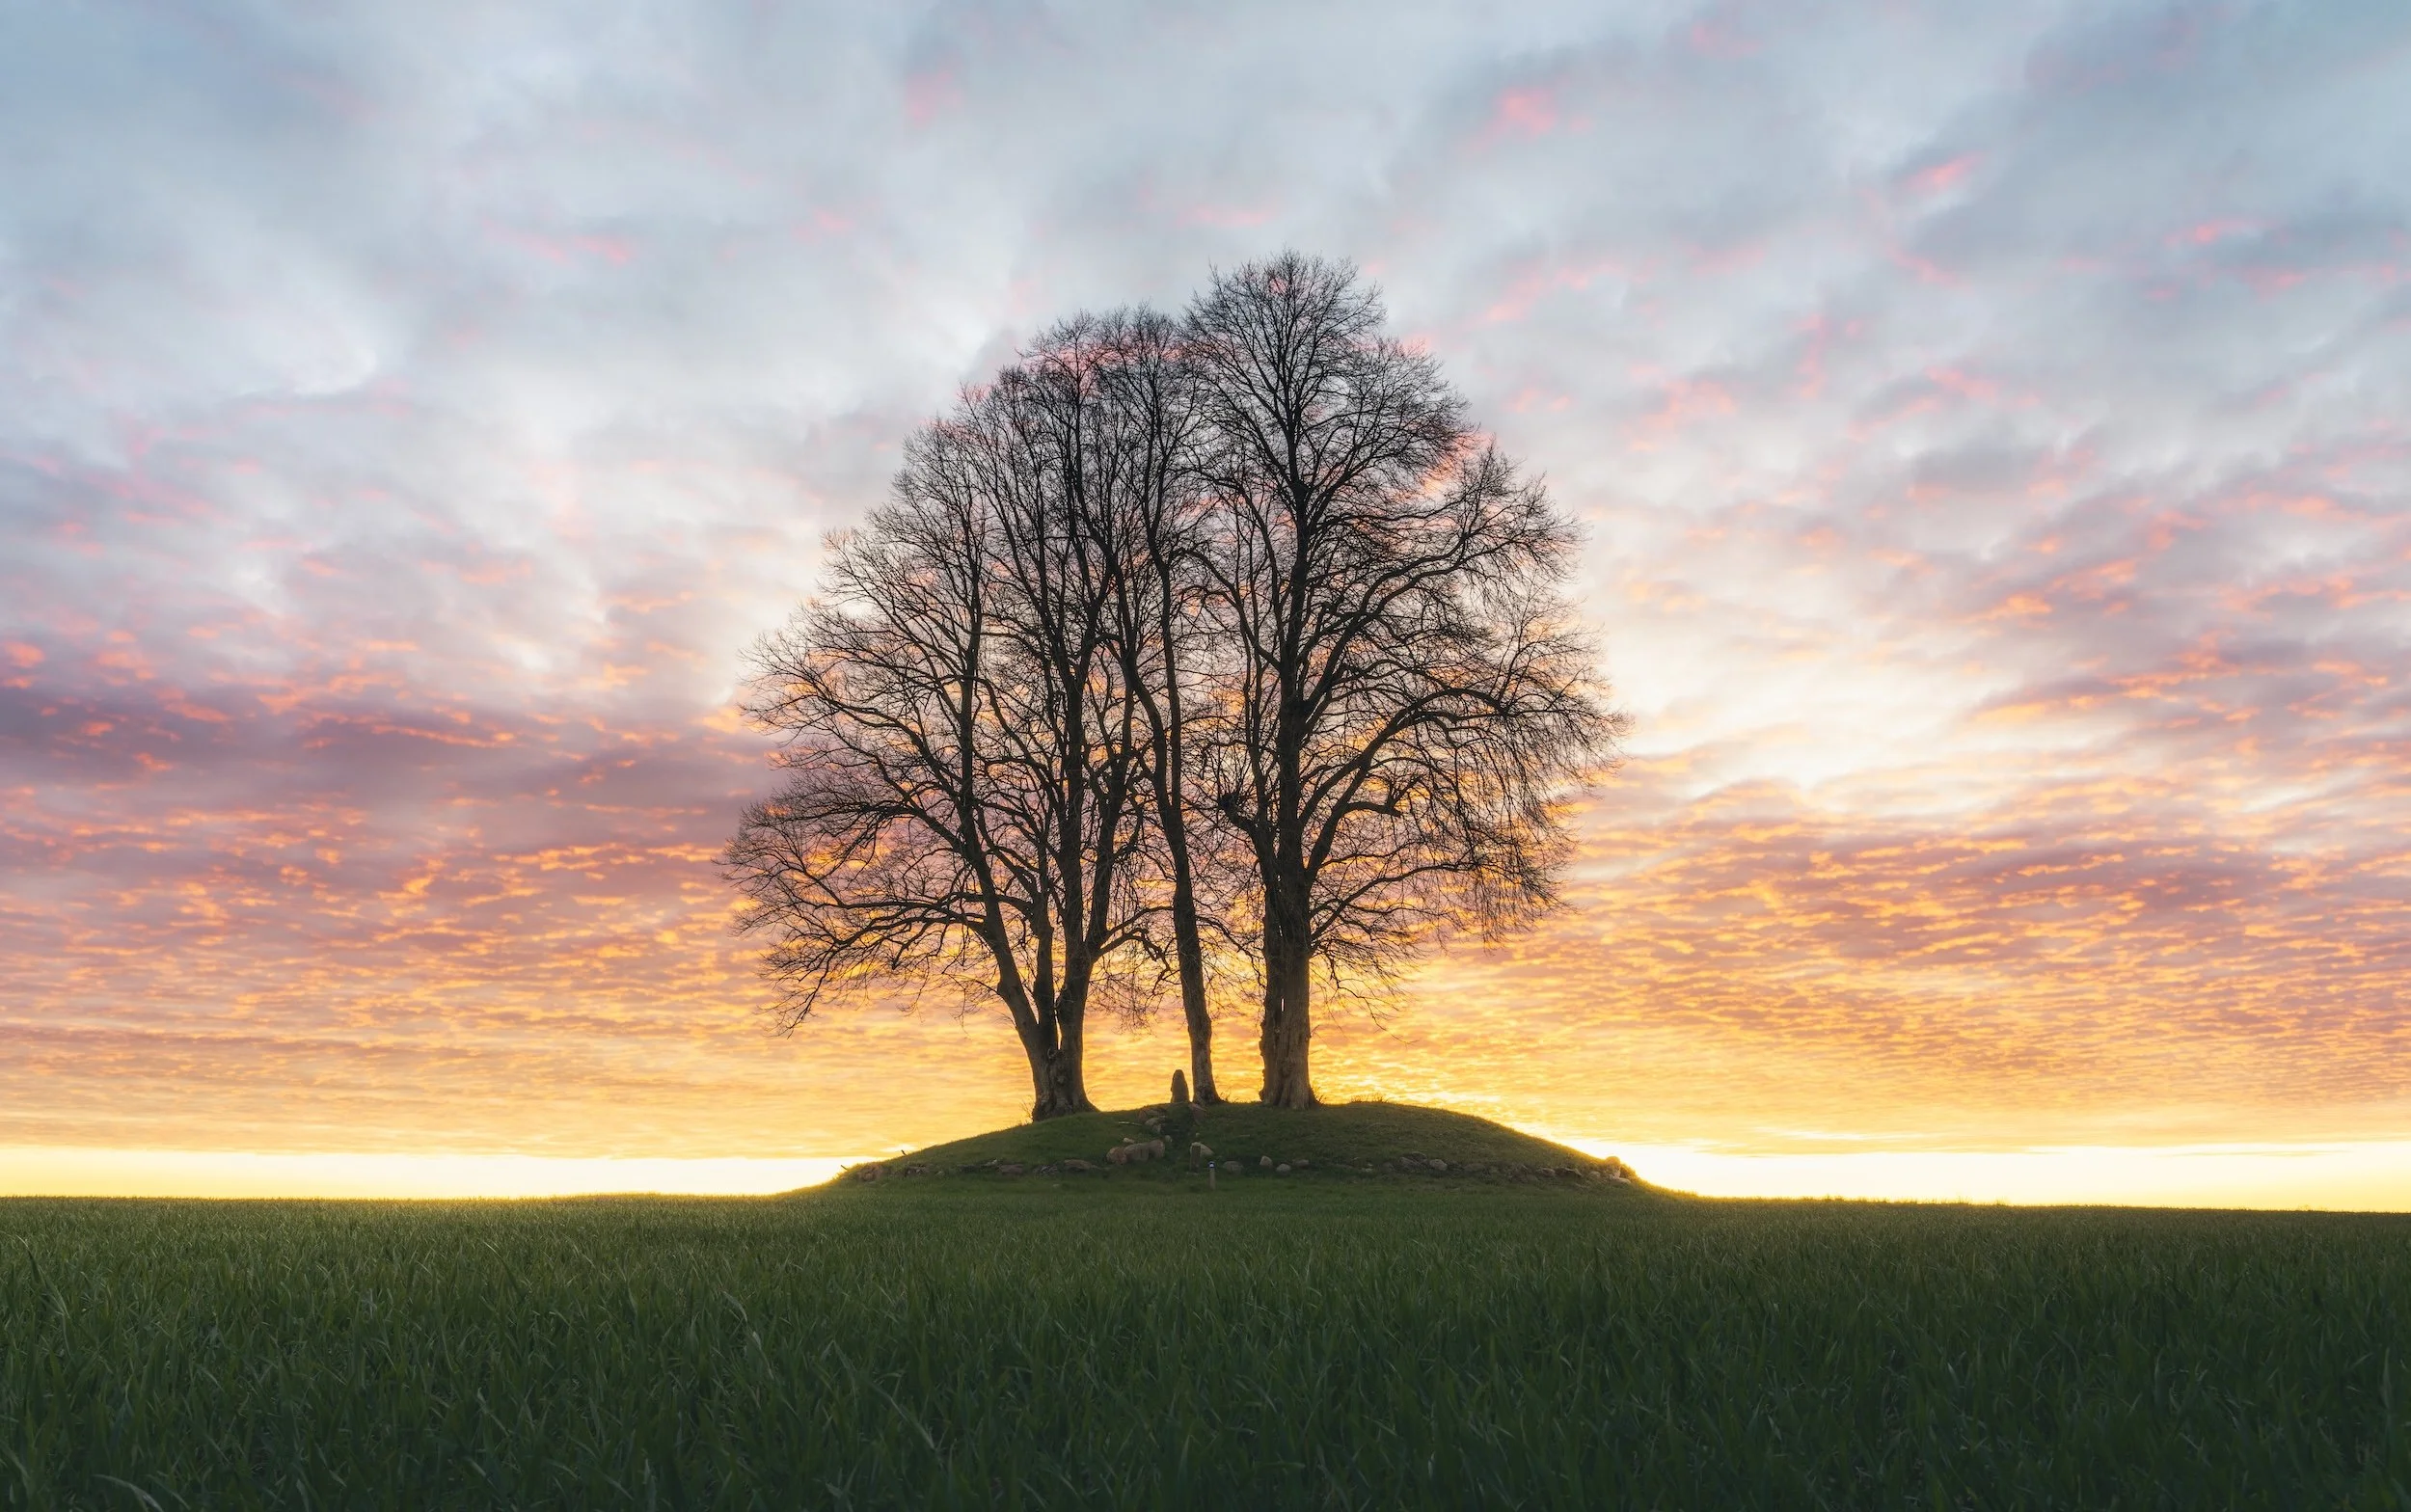
I want to find lone trees to photograph at sunset preferably within a radius of 45 min drive from home.
That means I need to look for western-facing isolated trees, either in a field or on a hill, with an eastern road or access that allows me to point my camera towards west.
Since lone trees are hard to find by searching online, I know I have to rely a lot on satellite images and Google Maps to perform my search.
Discovery can also happen without a specific subject in mind so simply trying to find beautiful nature areas around my home. That entails a more superficial approach but extremely valuable for finding new areas to then go deeper into.
#2 Research
Once I’ve decided on what I want to look for, the research process begins. This is the most complex part and involves using many sources, depending on the scene. Here are the top ones.
Satellite imagery
Satellite imagery from Google maps or Apple Maps is an incredible tool for finding aerial scenes, isolated subjects or just discovering a general area of potential.
I use satellite views sometimes as a first step but often to discover specific subjects within a wider area that I discovered during my research.
I cannot stress enough how powerful this is, I have found so many incredible subjects using satellite images. It also saves a ton of time doing leg work in the field.
Tip: Use Street view
Sometimes you may be able to get a street view of your scene which helps massively to understand exactly how it looks. Use it to finetune your locations and double check their feasibility.
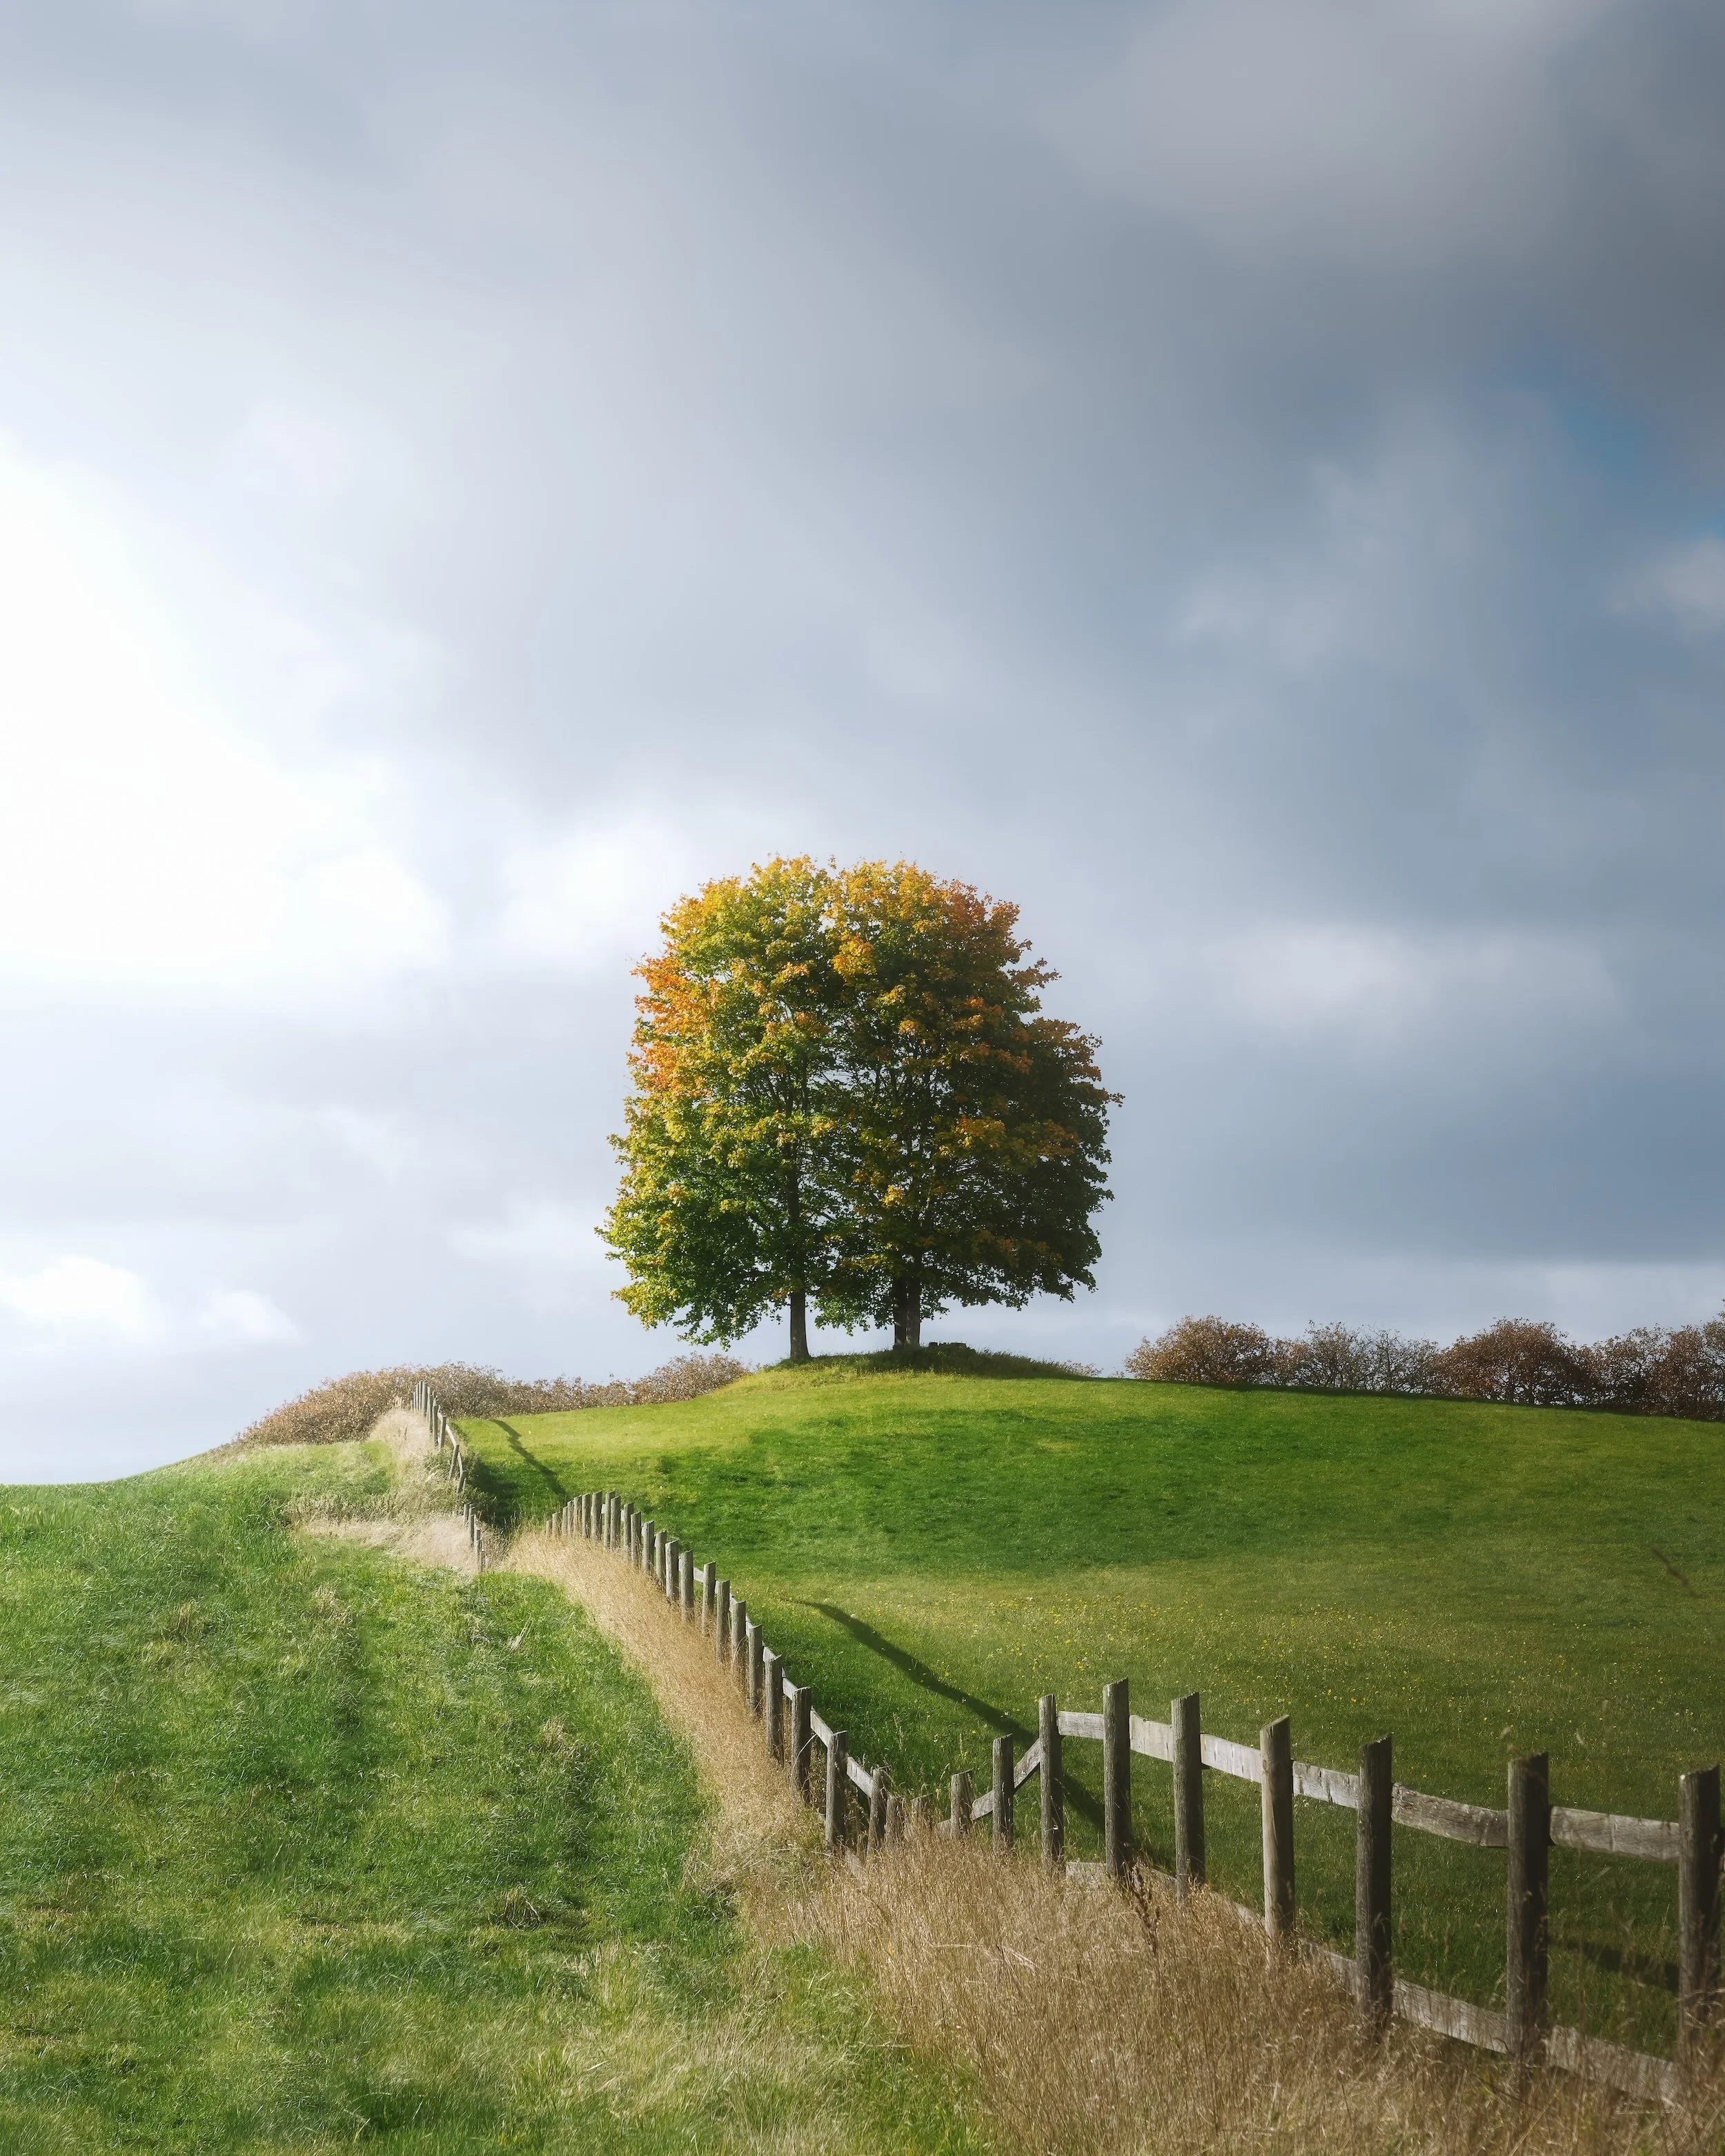
Lone trees
Finding such subjects can be tricky without ground work but satellite images and street view are very valuable.
2. Local articles and resources
This can be anything from a local travel blogger to a nature or environmental agency writing about nature or landmarks in that area. I also found local Facebook groups of nature lovers to be very helpful.
It is important to diversify your search here, depending on your subject. Sometimes if what you’re looking for isn’t “searchable” per se, you need to find broader topics that relate to it.
Example:
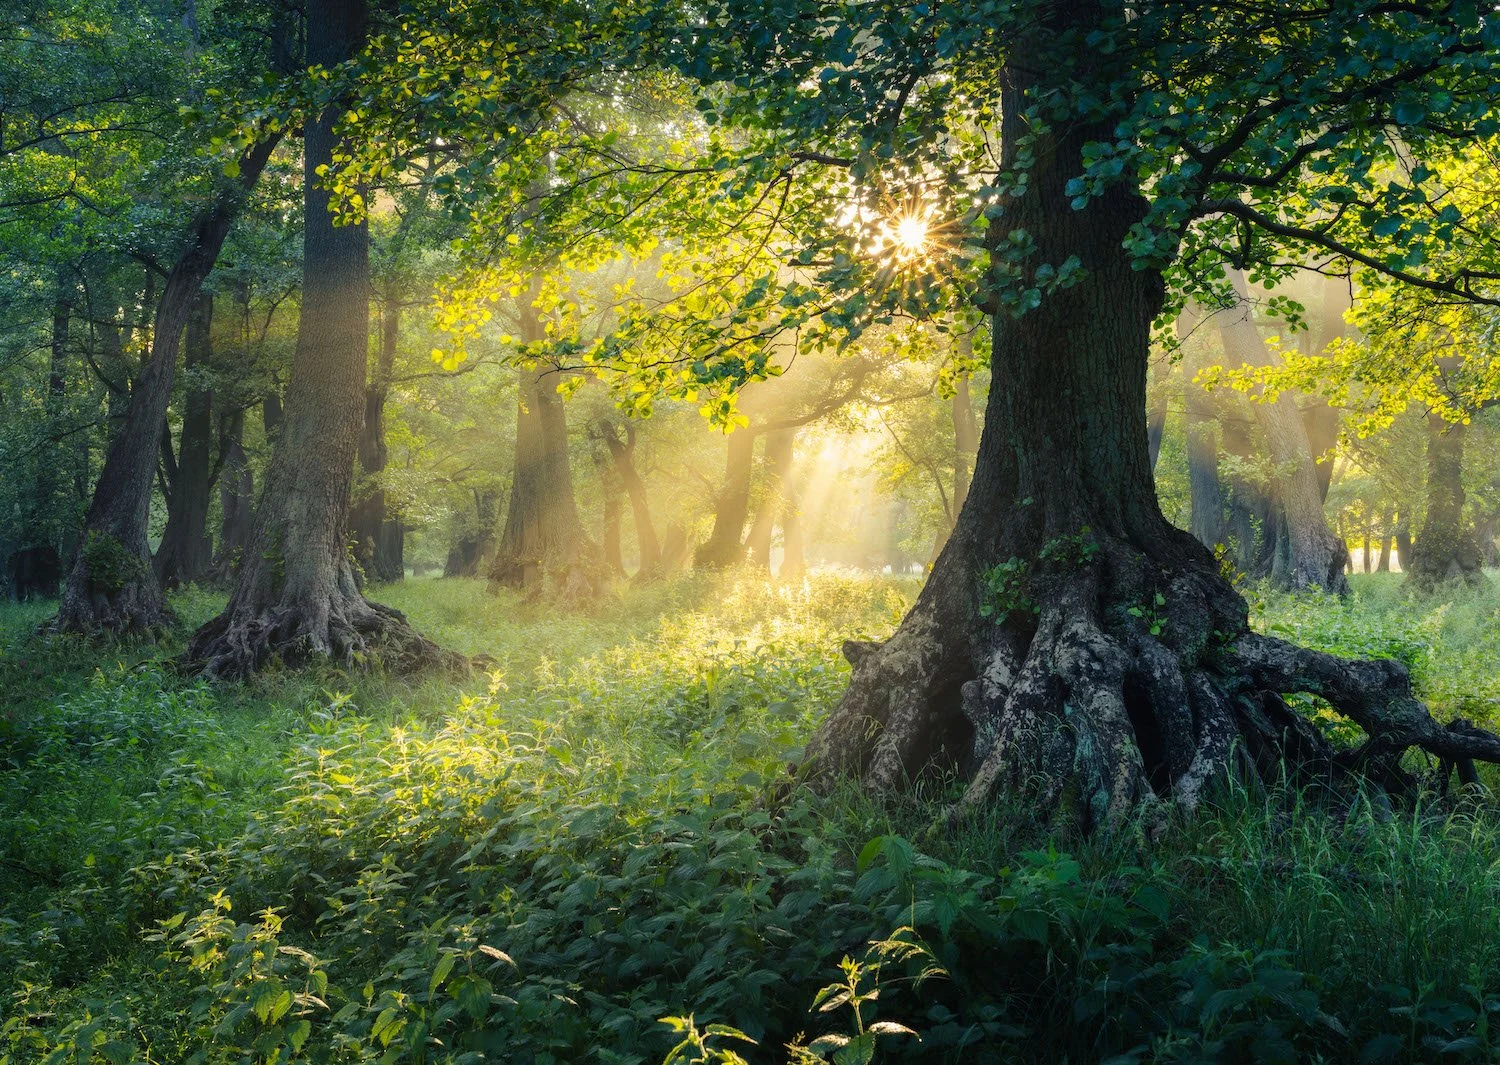
I’m looking for a forest with gnarly, old trees. That is not something I can necessarily search for as is. I might get some results, but I need to think “what type of trees usually become twisted?” So I might look for “old oak trees” or “old beech trees” instead.
Tip: The deeper you go in your search, the more specific and even scientific you need to be. Always search in the local language to find all relevant content.
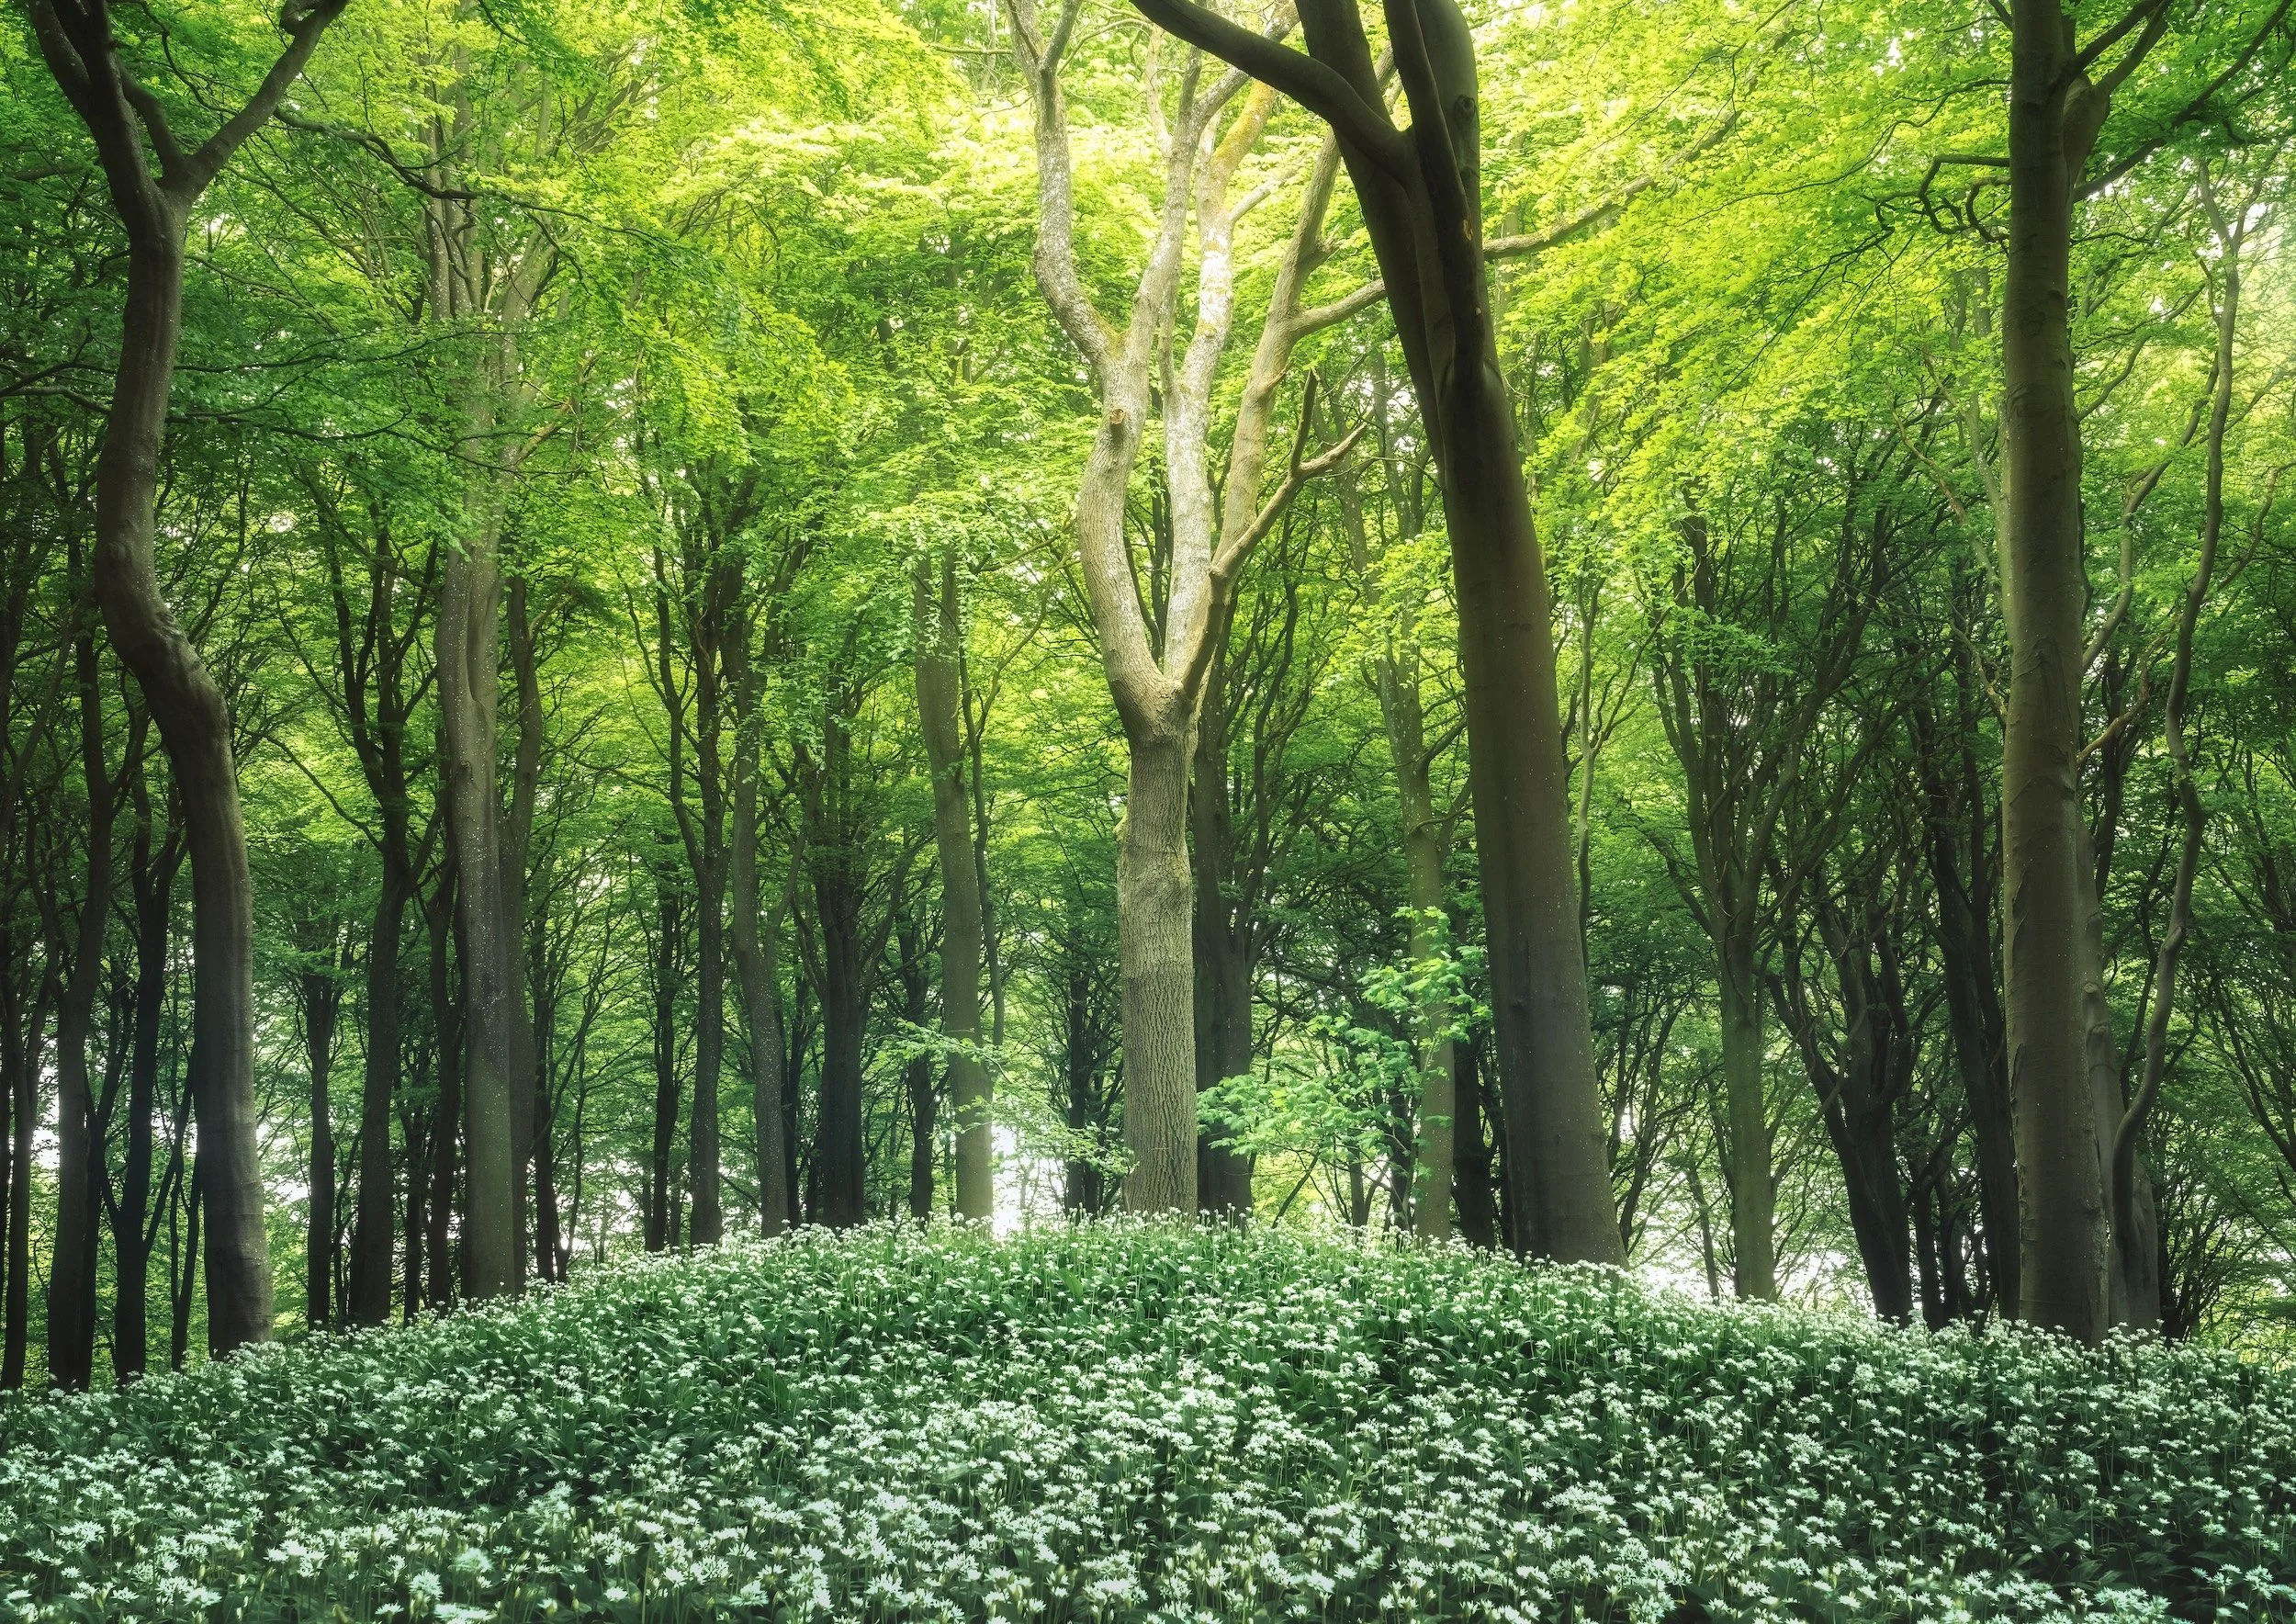
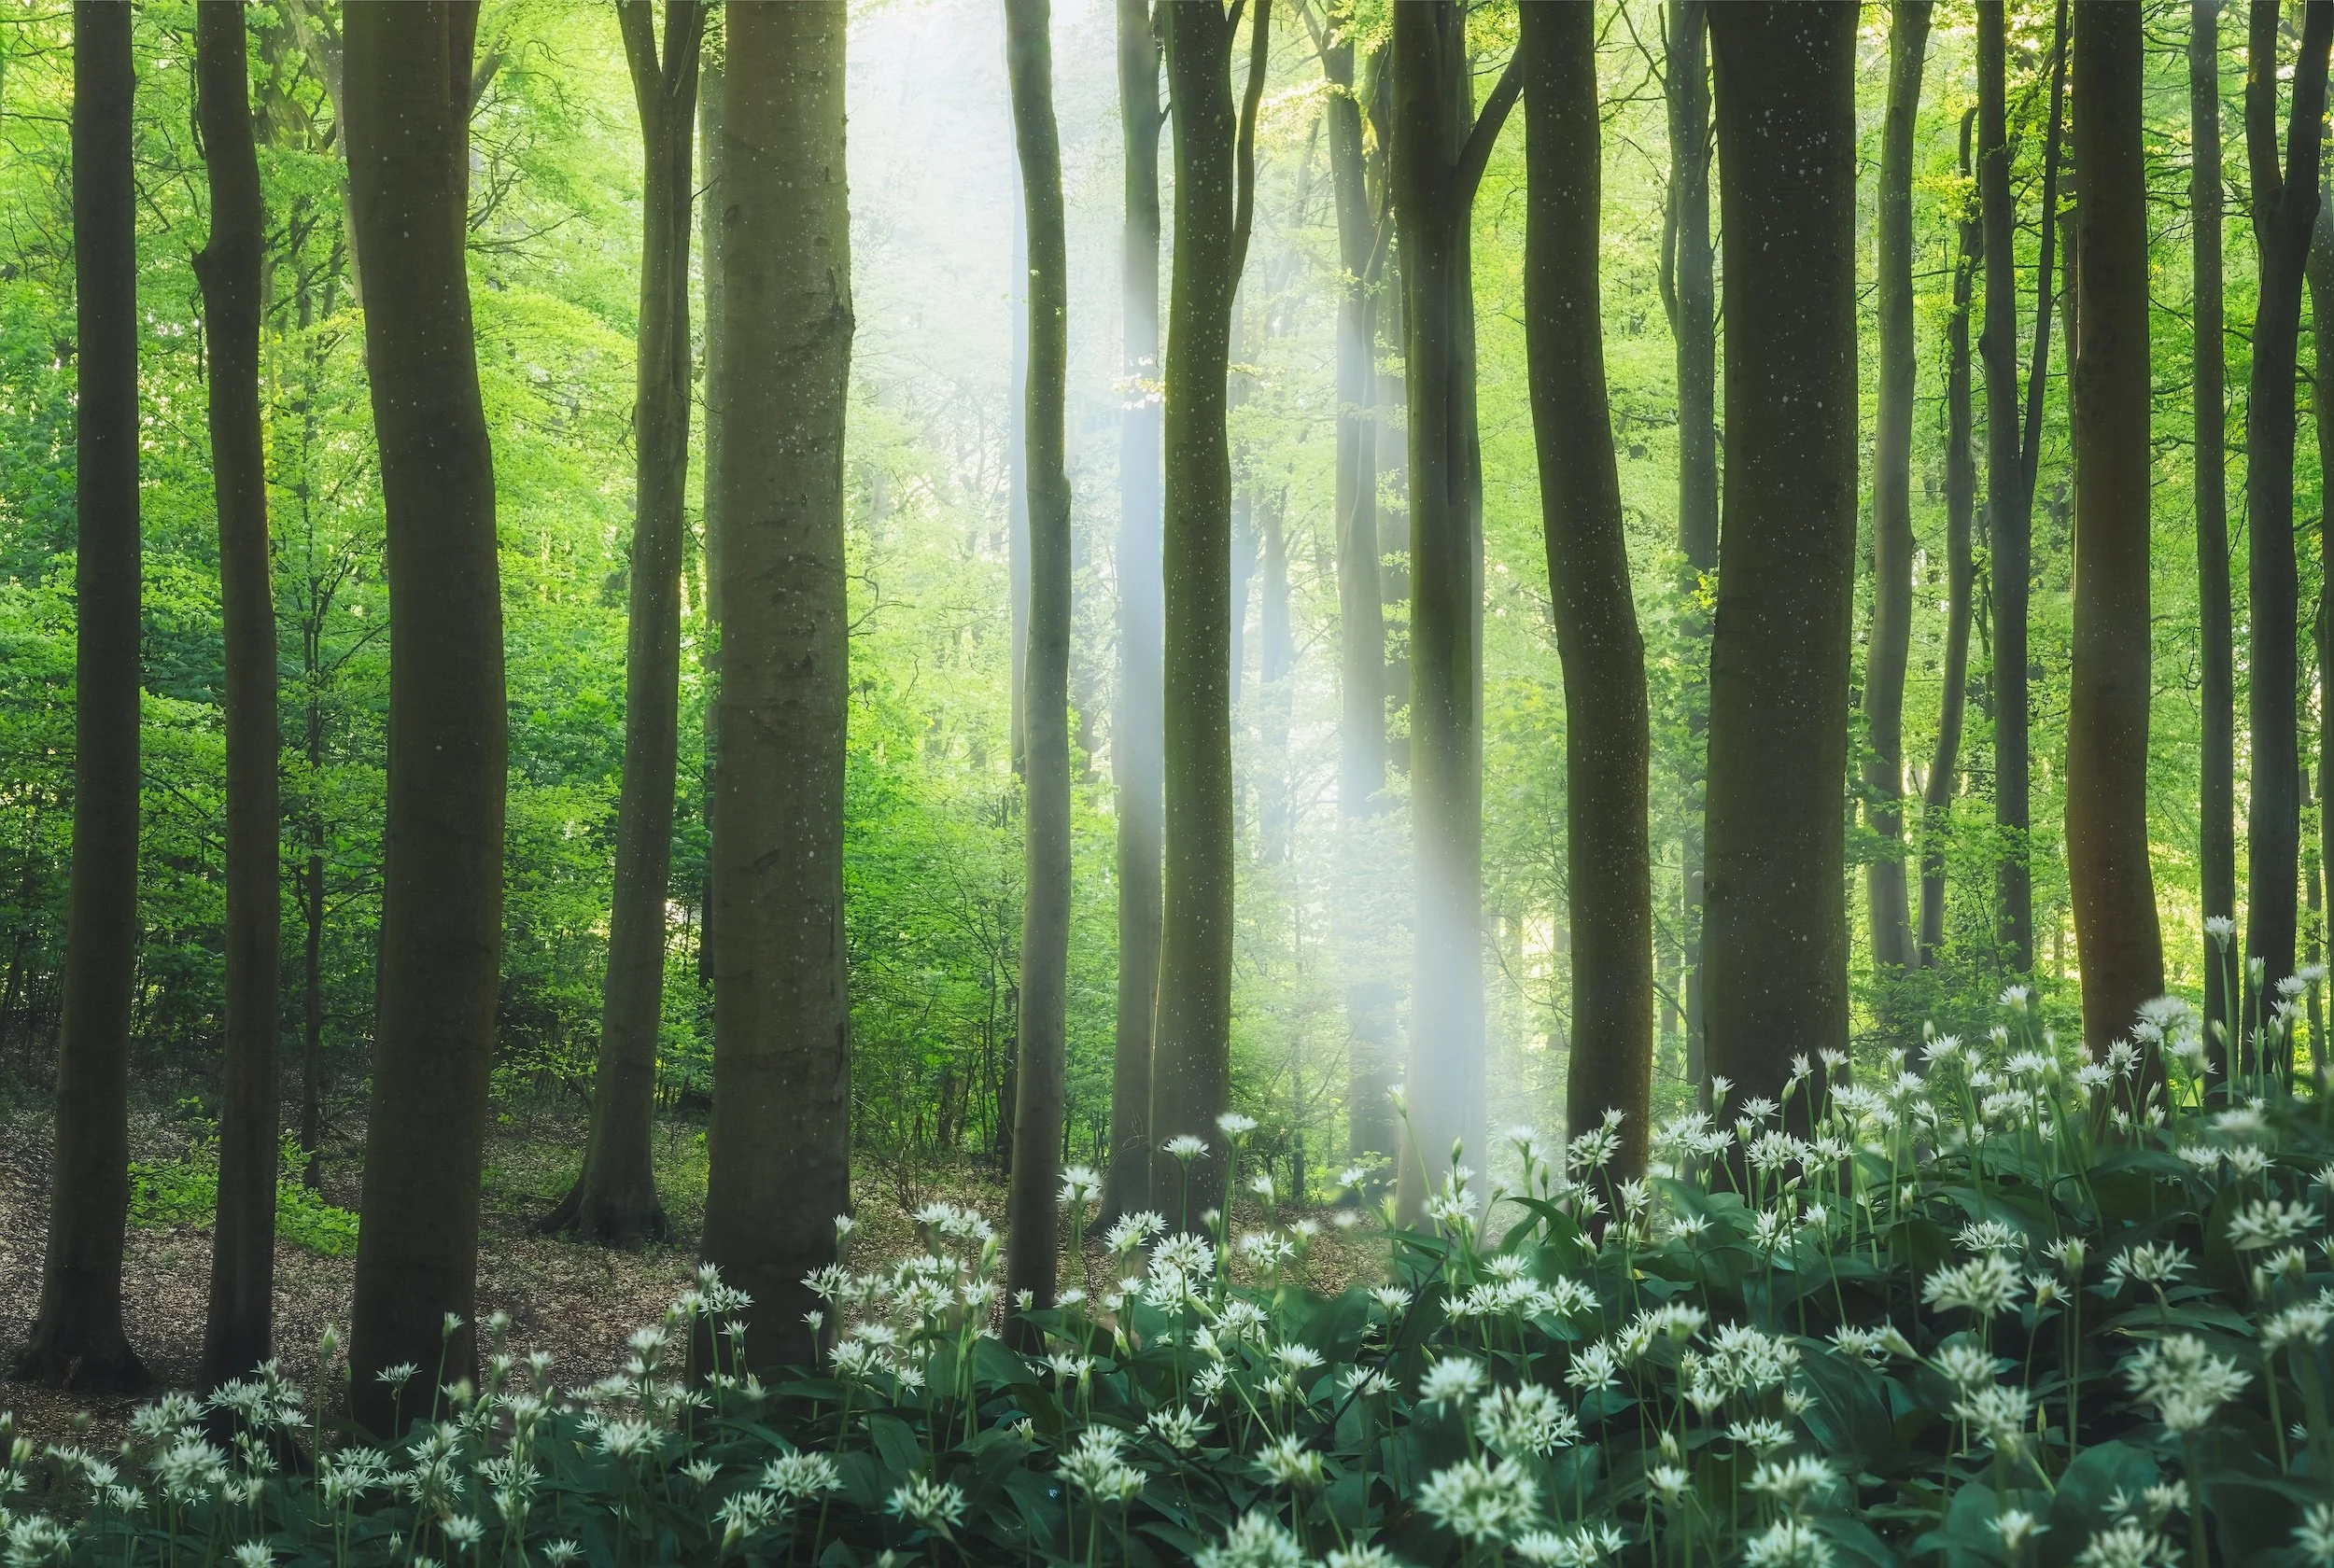
Wild garlic
Such locations can be found from local articles and resources that talk about places where wild garlic grows in Denmark.
3. Google maps (photos & pins)
Once I find an area, I use Google maps for seeing other people’s photos that can give me a good idea of what it looks like.
People usually take bad photos on Google maps but that doesn’t mean you can’t find potential in them. Use them to get an idea of the area and maybe even find individual subjects you like.
A lot of times people upload photos from much further away than the pinned location. That means you can use those to find interesting subjects further away or new areas of potential.
Pins. You can find viewpoints or unique places other people have found and pinned on the map. Searching for “attractions” or “scenic spots” can help reveal new places that don’t initially show on the map.
Tip: If you zoom into a certain area with the keywords above usually more places appear.

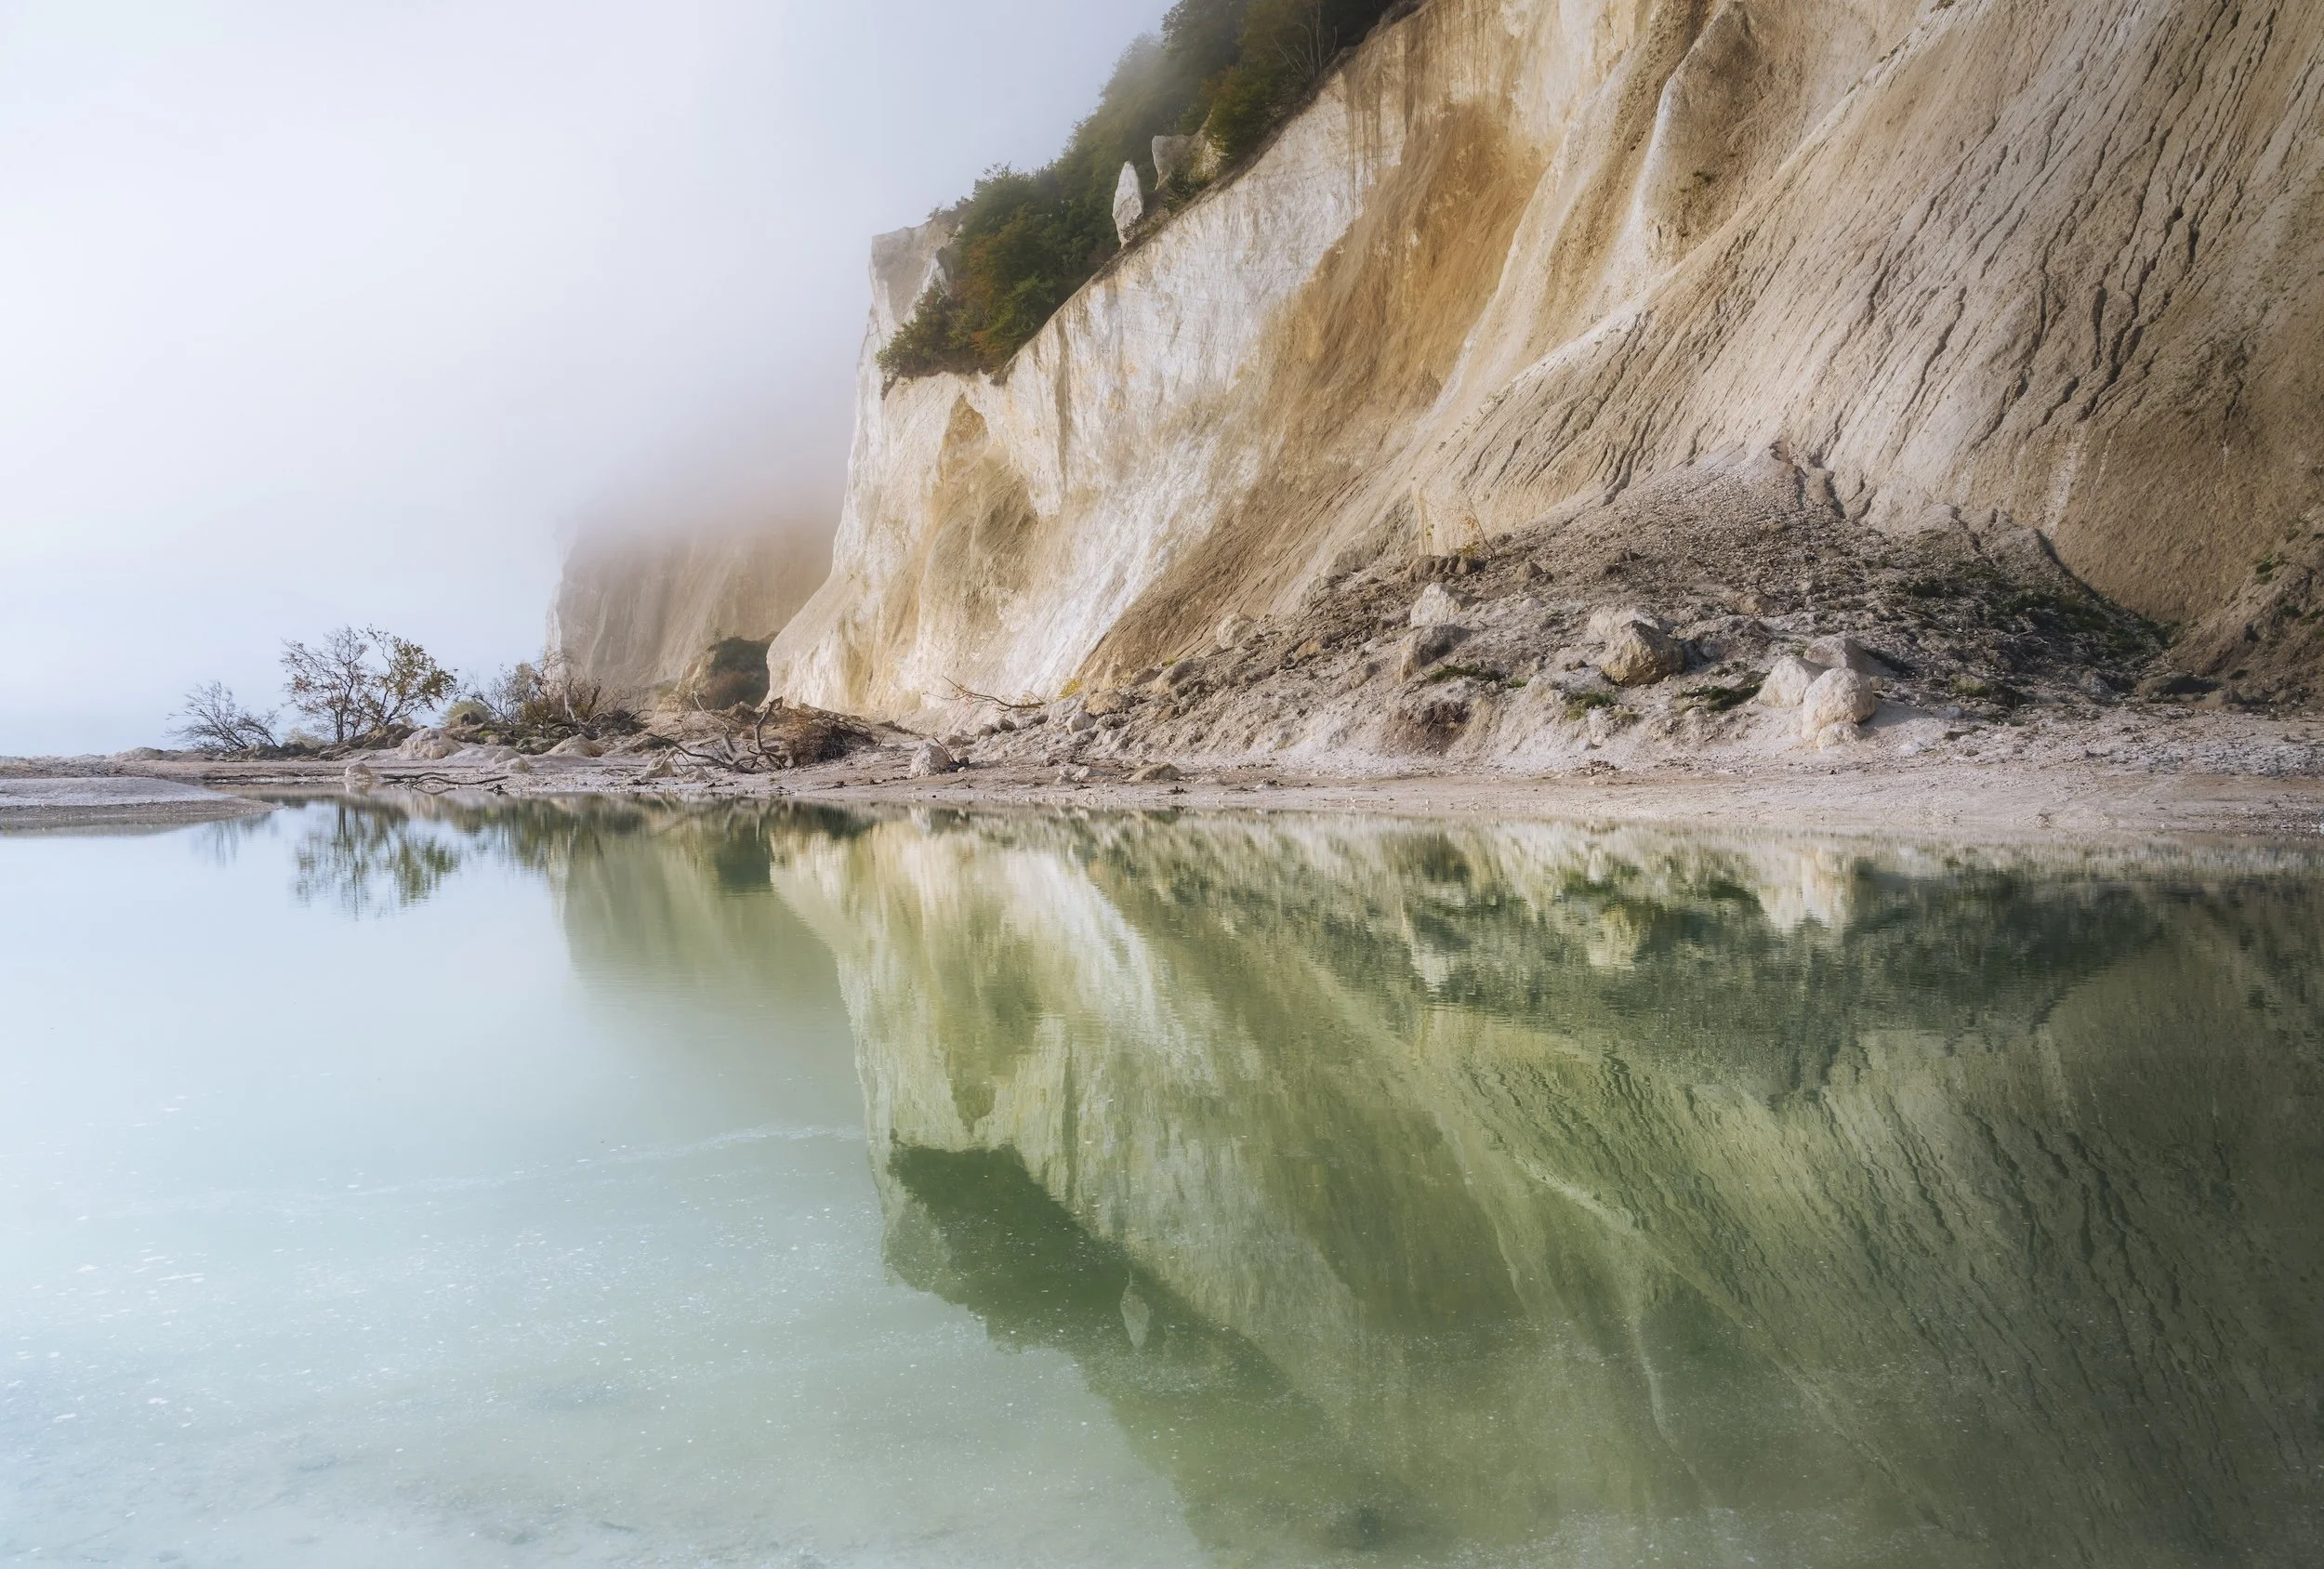
Pine forest and lake
This location is stunning as a drone location and I found it using Google pins and images.
4. Photopills
Photopills is an incredible app for photographers that massively helps in all aspects of it - also during the research phase.
I use Photopills to pinpoint certain areas and understand how the sun moves relative to that point. It helps me to identify what kind of conditions the location is good for and find good vantage points.

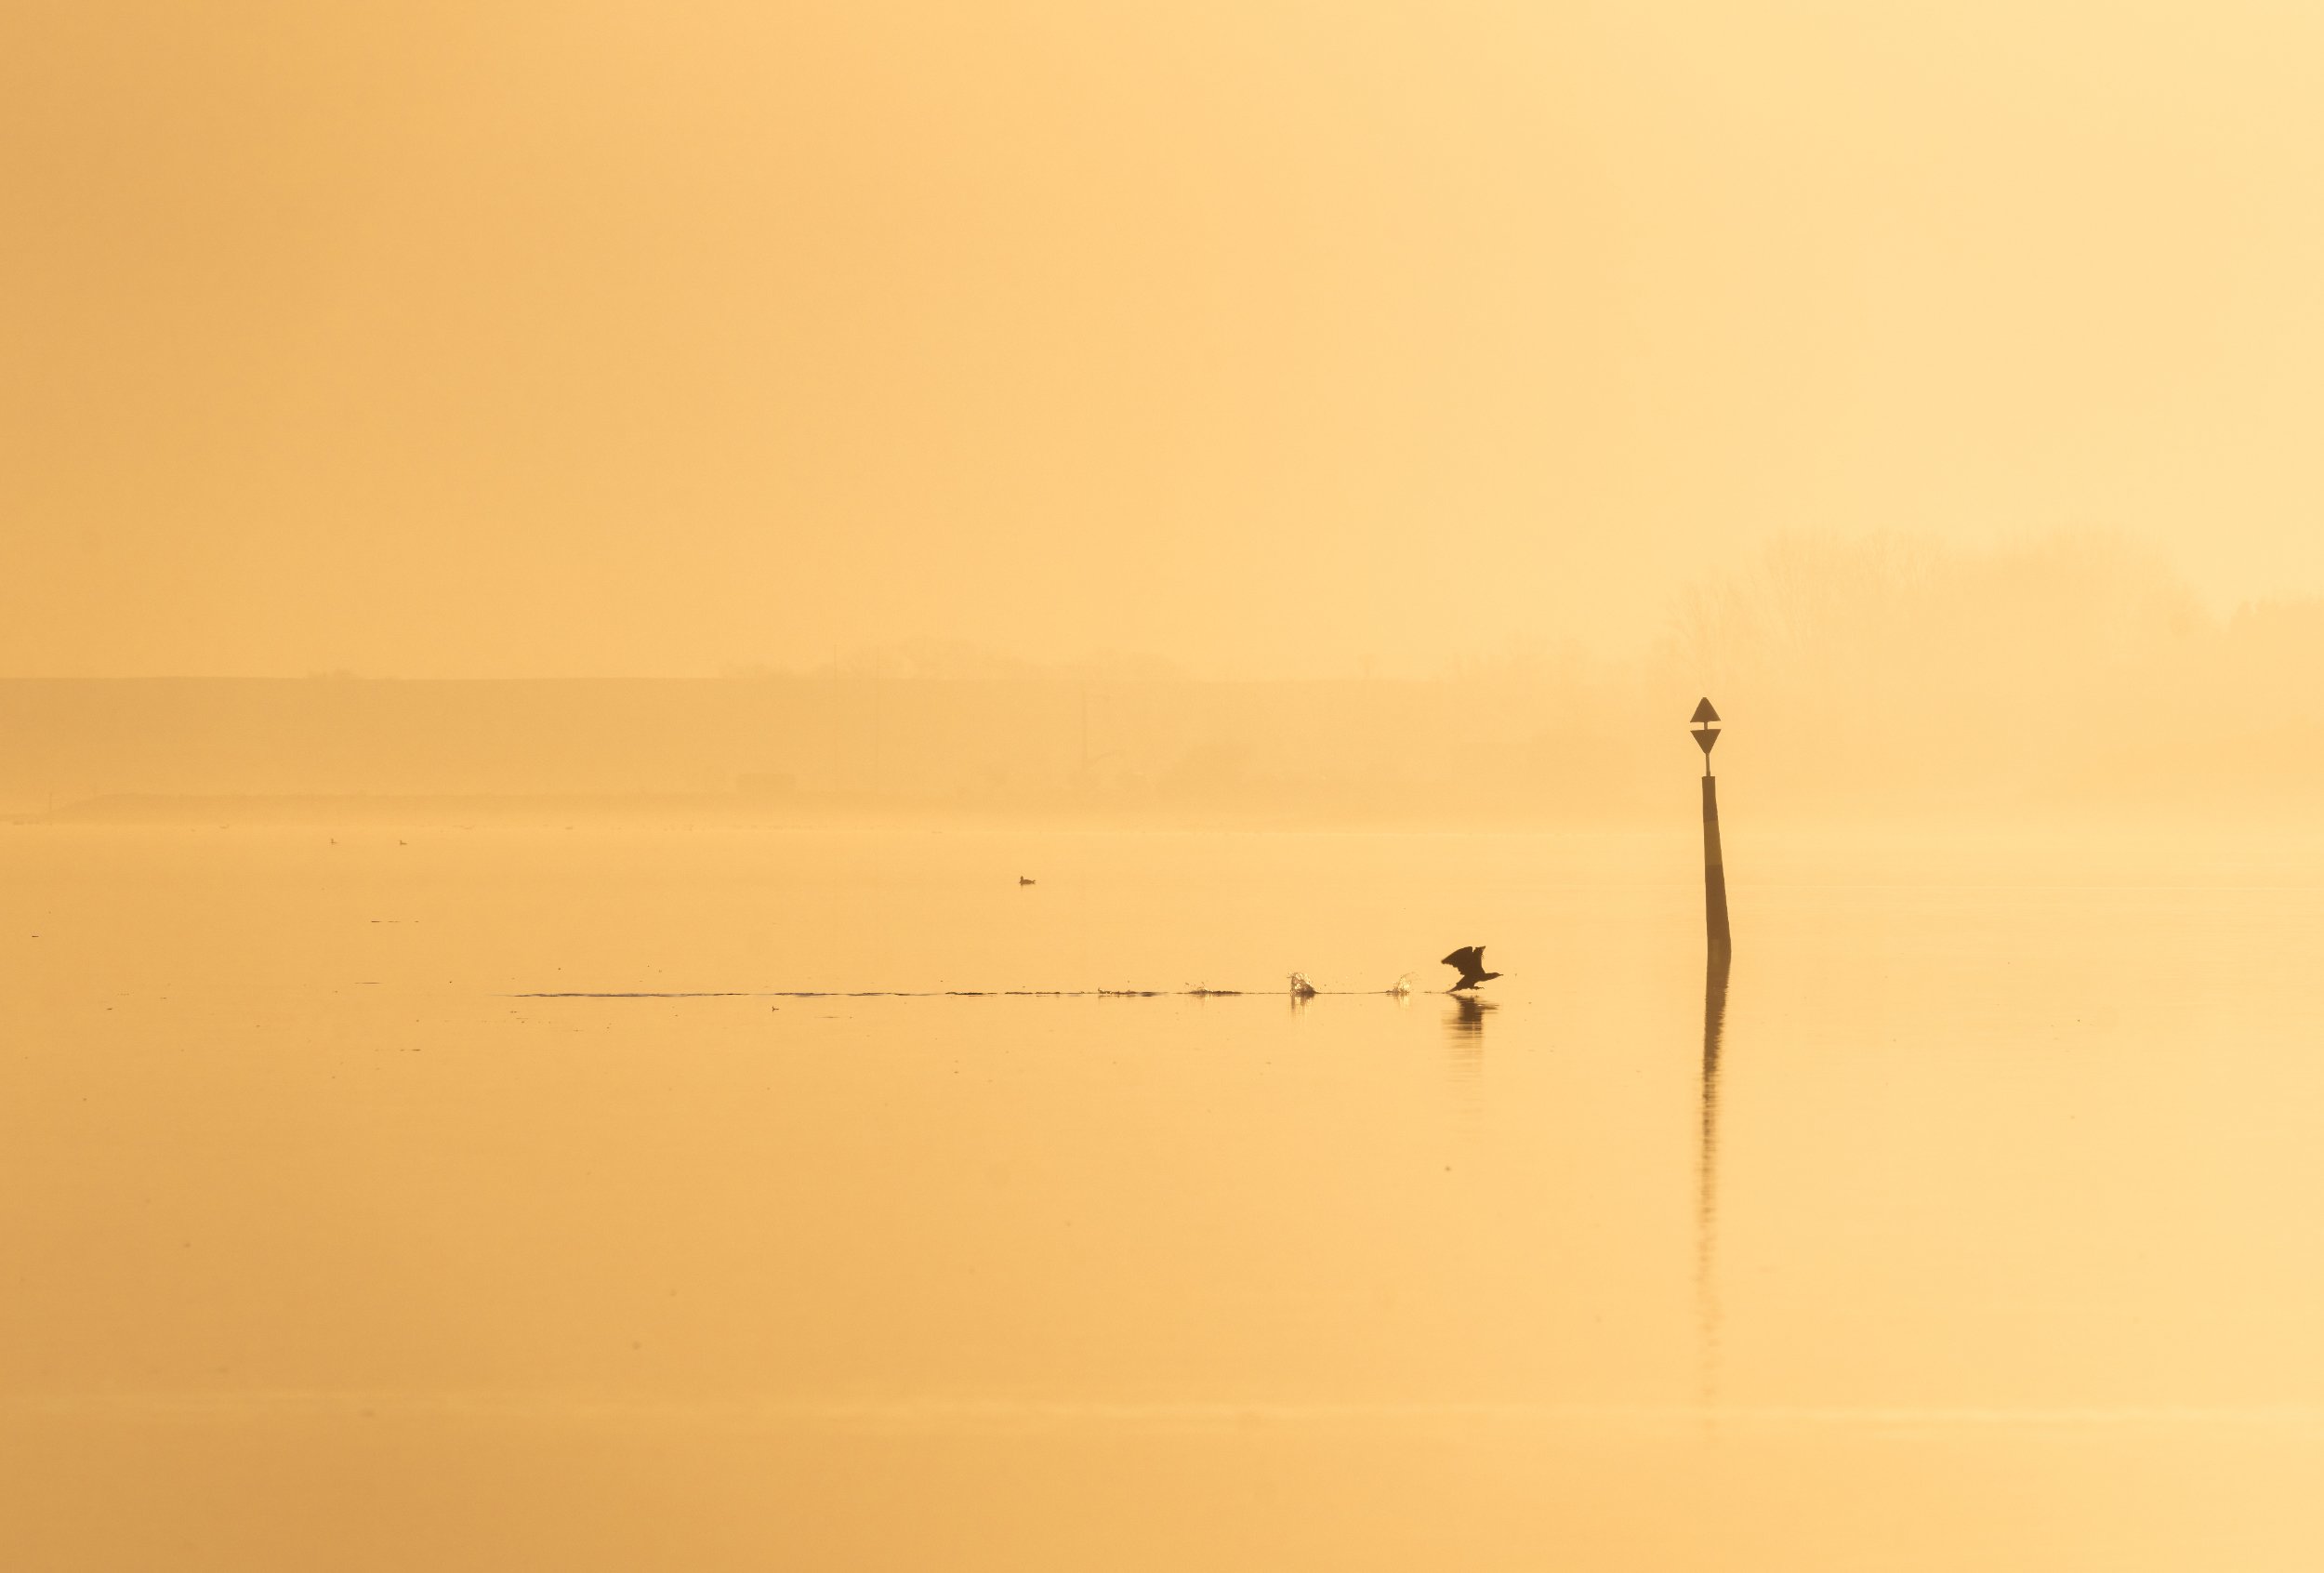
Sunrise over mill
I used Photopills to help me pinpoint where exactly the sun would rise the exact day I took this image. It allowed me to know I’d be able to compose it with the sun right above the top of the mill.
5. Google Earth
I sometimes use Google Earth to understand the topography of a place and how it interacts with light. It is a really good tool to finetune your location but not necessarily to discover new ones per se. Definitely keep it in mind.
#3 Documentation
A crucial part of keeping track of locations is of course documentation and how you do it.
Custom map
A typical way to document locations is to make a custom map (I use Google My maps) . A map is great for getting an overview. You can make categories, color code your locations and write short descriptions.
However, I find that a map has its limitations. It’s not searchable, it can become cluttered and messy which may result in you losing track easily.
Written guide
To supplement the map I like to use a written guide (Google Doc, Word, etc) where I document and categorize my locations based on area and subject. I write extensive descriptions, add links and images from my scouting trips.
Why is this helpful? Because I can enrich each location with a lot more info which is searchable, indexed and easy to find. I write detailed notes to self, add information about what the location is good for, links, images, etc.
So my recommendation is to have both a map and a document which are complementary. Make as detailed notes as possible and keep your files organized.
I always save a backup of both from time to time locally on my computer.
#4 Scouting
Lastly, scouting is possibly the most important step of them all but also the highest effort.
Scouting is SO crucial to do outside of your photography time. And that is because it allows you to freely discover a new place without the pressure that you need to deliver photos.
Once I collect some locations I want to scout, I try to bundle more of them together in the same trip to save time and resources.
I go out scouting in broad daylight when I wouldn’t be taking photos anyway
I try to not get limited by my research and adapt in the field if I see something else interesting than what I was expecting.
I make notes on my phone, add links to pins, comments and I take photos with my phone.
When I get home I transfer all the information in my master document and my map


All the images above were taken having known and scouted the location beforehand. Knowing the location well meant I chose to go there at the right time and in the right conditions.
Scouting can be a rather unsatisfying or frustrating exercise if things don’t work out but also very rewarding when you find a hidden gem.
It’s also a big exercise of imagination. I always try to envision different conditions or angles. Don’t get constrained by your initial expectations of the place and keep an open mind.
Tip: Don’t get discouraged if the locations you came for don’t work out. It happens so often! Try to explore more in the area since you are already out. You might come home with something completely different than what you expected.
Scouting is also fantastic because it leaves a mark in your mind. Each location you find will be stored in your memory bank. So when the time comes for good conditions, it will be much easier to make a decision on where to go and prepare for the scene you want to capture.
Conclusion
Finding new locations in your home country can be challenging, no matter where you live. For me, living in Denmark means I rely massively on my own research as there aren’t many “known” locations that always deliver.
For someone living in a photographer’s paradise, the challenge is to break the clichés of over-photographed icons and find uniqueness.
No matter your location, hopefully these tools and tips will help you become better at finding those hidden gems, small scenes or undiscovered paths.
Remember, finding new and exciting locations is almost never easy. You need to be willing and able to put in the necessary work. But if you do, you will most definitely be rewarded with incredibly unique photos that you connect to deeply.
As always, any questions just comment below.
With love,
Alexandra